
I recently completed the bookshelf for our room. It is in the same design as the other pieces of furniture. The bookshelf has open sides with slats and two sections. One side has one adjustable shelf and the other side has two adjustable shelves. I did not do a complete design of this, only sketches like the other pieces. It was designed at 15" seep to handle some of our photo albums. Looking back, I probably could have reduced the depth to 12" and put the photo albums elsewhere. It is deep but it does work.
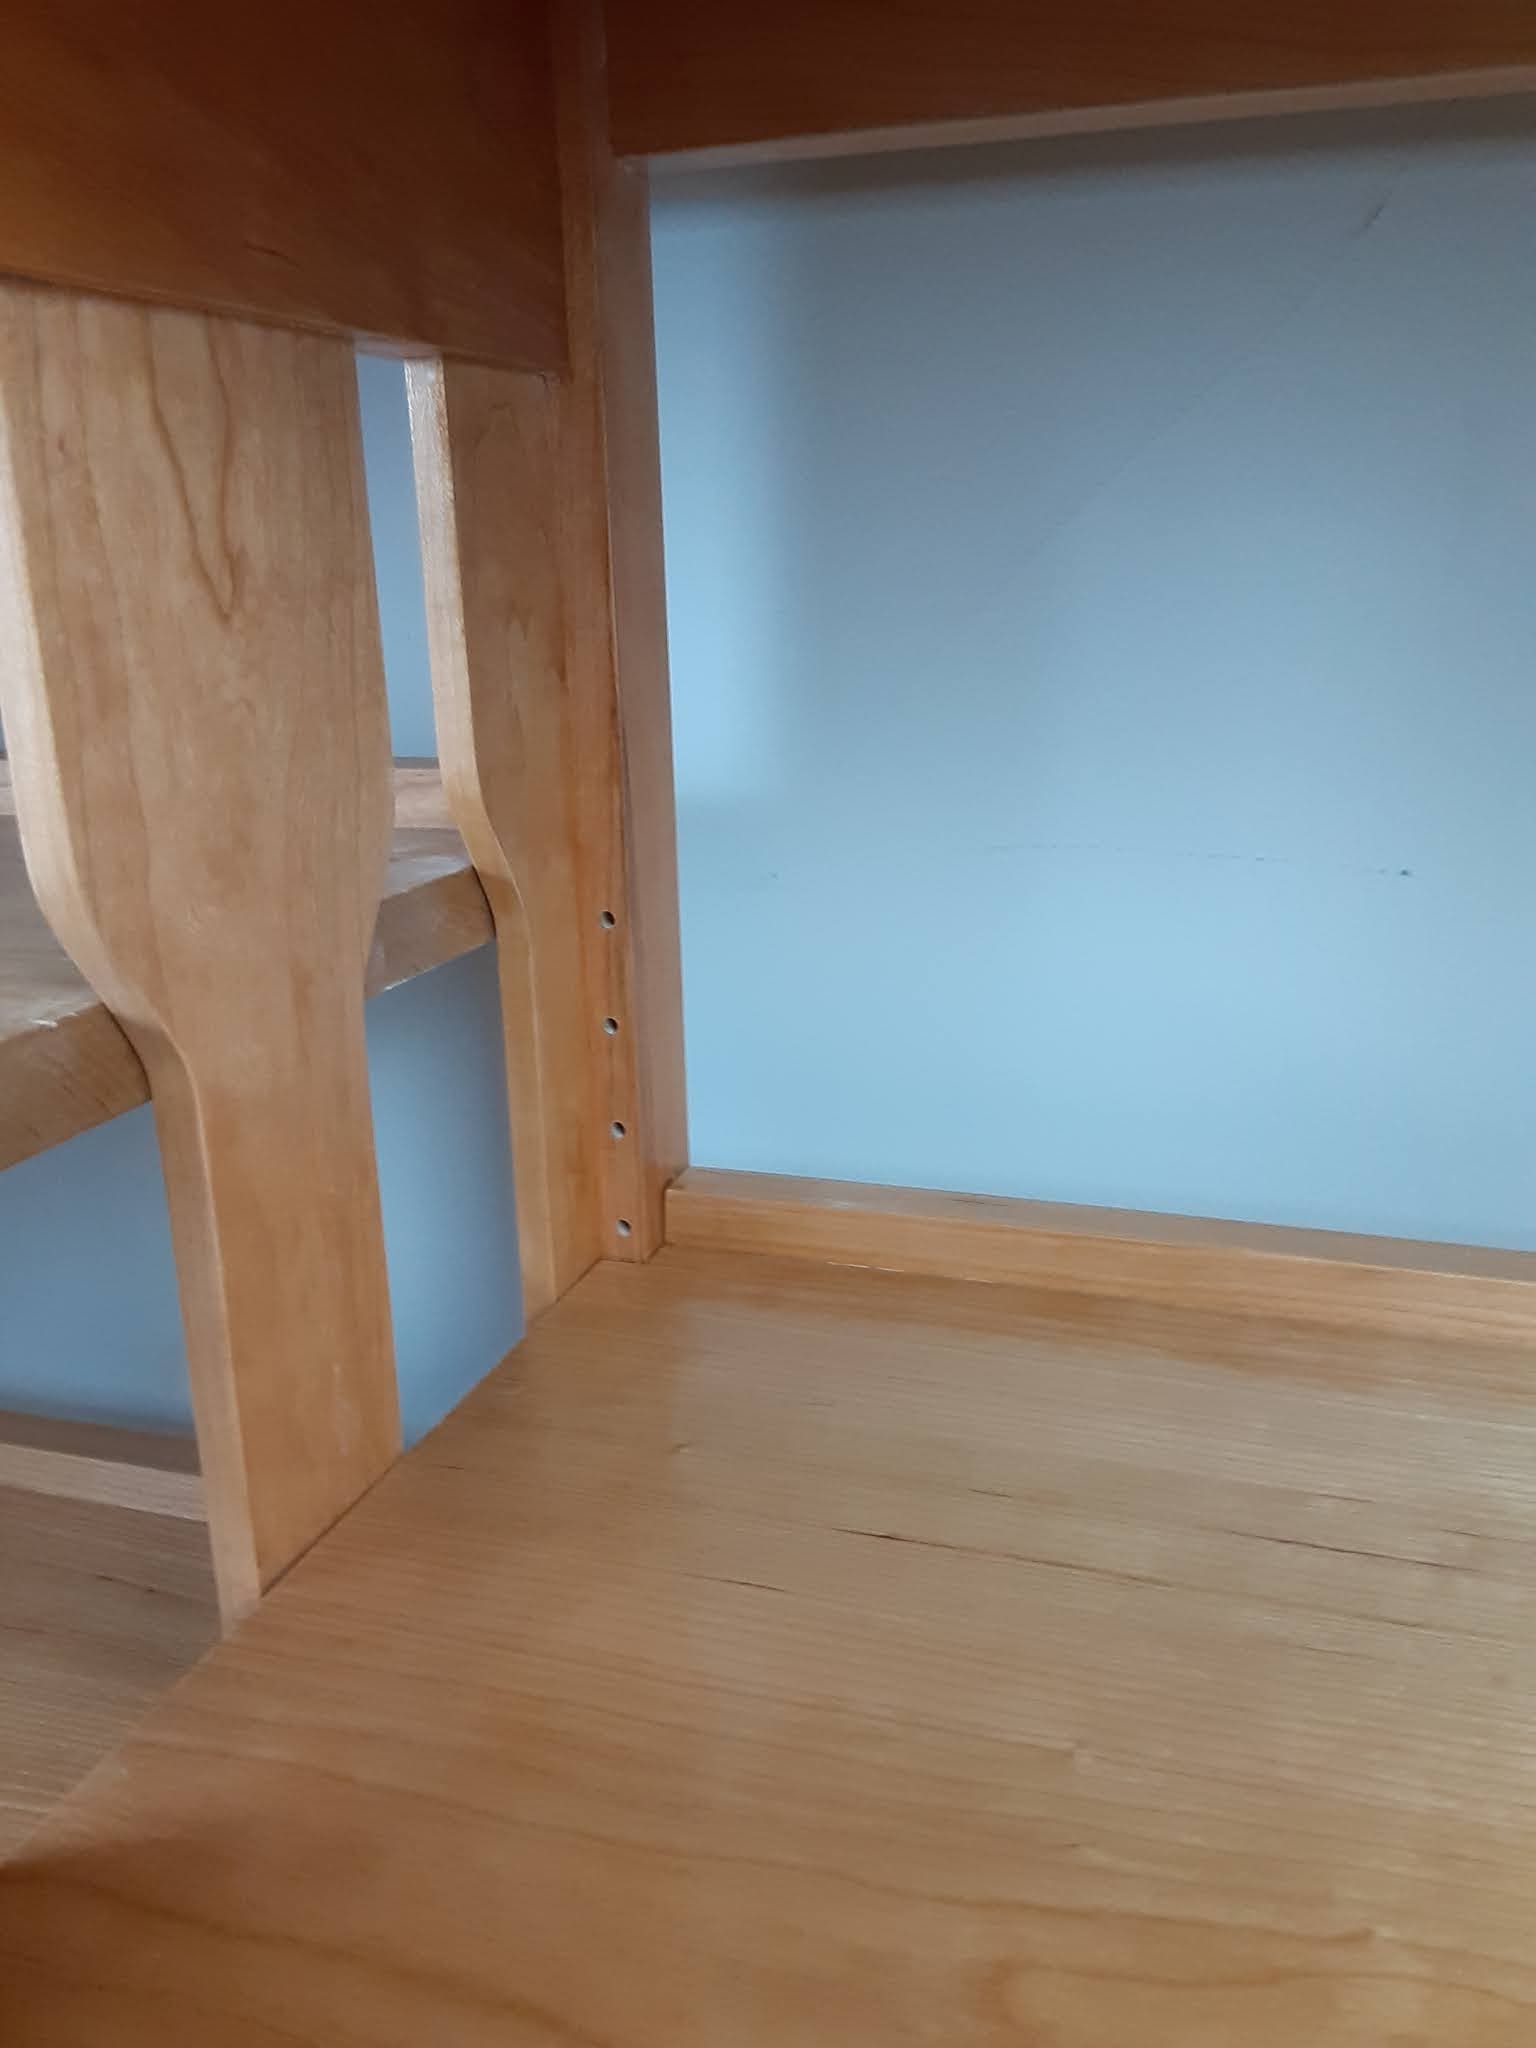
 The construction of the unit is very similar to the night stands with thicker legs and top. I purchases 8/4 (1 3/4") thick lumber instead of 6/4 (1 1/4"). That was not planned but it looks good because it is a larger unit. I used the slats to hide the shelf hardware. the concept work well. I used a template to make sure the hole spacing was consistent on each of the legs. I used a router this time to cut the grooves in the rails that hold the slats in place. I was hoping this would be more consistent than the dado stack on the table saw. It was for all but one of the rails. I am not sure what happened with the one piece. It all worked out in the end since I cut the slats thick. I did find out that I do need a better slot cutter than the one that came in the multi pack. The one I have dulled after half way through the parts and started to chip out on the edges. All joints are mortise and tenon and I would hope that I would have become a little better. I don't think I have improved much.
 The cabinet is totally over designed. It is all solid wood, even the shelves and bottom panel. The shelves are 7/8" thick. I now buy rough lumber, so I just plane to get the defects out and that is the final thickness. I did have a little issue with the glue up this time. I glued up the right side panel and left side of the center piece. with hand cut joints each one fits in one spot. I had to clean out a lot of epoxy. The good part was my loose joints were no longer loose.
I am happy with the project and how well it goes with the rest of the set. I think I will be doing a printer stand next. I need to test a look before I put design it into the headboard
No comments:
Post a Comment