Showing posts with label Design. Show all posts

Friday, November 4, 2022

Blanket Chest

 This is the next piece in our bedroom furniture.  This gets the sheets and blankets out of my son's closet.  This project posed some design concerns.  The first one was how it was going to fit in with the rest of the bedroom furniture.  I am using a mission style.  I have kept open sides but the chest cannot have open sides or front.  There were a lot of different ideas that I had to accomplish this look.  The one that I settled on was grooving all the cherry parts and the walnut was in insert panel.  


Another design concern was the weight of the lid.  The lid is made of three pieces of 1 3/4" thick cherry.  The total weight of the lid is 35 lbs.  I did not want the lid slamming shut and hurting someone.  There is not a lid stay on the the market, that I could find, to handle a 51" x 21" top with that weight.  I did find torsion hinges from Rockler that I liked.  The calculator does work but it said my top was too big.  If I took the lid and divided it into two lids, it said to use 2  - 60 inch-pounds torsion hinges.  So it takes 240 inch pounds to open the chest.  The lid does not slam shut.  I am happy the way the lid turned out.

The lesson learned from the lid is that the case needs to be heavier than the lid.  It does once it was filled.  When it wasn't, it was a tipping hazard.  

Other designs features that are part of the chest:

  • The bottom of the chest is made from tongue and grooved aromatic cedar,  It is said to repel bugs so I put it in our of tradition
  • The top has two battens that are installed with sliding dovetails.  This is the first time using this type of joint,  I did not execute it as well as I had hoped but it still works to keep the top flat.  This was the part that I was most nervous about because if I screwed it up it is a lot of wood that becomes firewood,
  • All joints are mortise and tenons.  I made these using a router instead of hand chopping them out.  This seemed to be easier then drilling and cleaning them out.  They were a more consistent making the tenons easier to make.
  • Inserts are walnut.  I was going to make them out of maple for the contrast.  I am glad I didn't.  The cherry will darken over time.  The two wood tones will compliment over time.
  • The front was originally going to look like two drawers.  It was not going to look as good.  I was also going to add an internal tray.  That also was removed.

I really like how the features come together.  This was a challenge in getting all the lines to line up and offsets look the same.  There are a couple of things that did not go as plan.  The parts for the sides should have been the same for the front and back.  I was off by 1/4".  It all worked out.  
The other design feature is the inserts are not glued into the center curved pieces.  This is to allow the wood to expand and contract.  It may never cause a problem but I did not want the joints to break over time.
I like how the project turned out and it fits with the other bedroom furniture.  The next piece is going to be the chest of drawers.  That is next year

Thursday, August 25, 2022

Buildable Toys for a Church


 I was contacted by a church in the south about making kits for youth to build at their youth camp. Of course I said yes and under costed the project. It is a little more difficult to mass produce build your own projects. I didn’t have a belt sander to make everything flat and smooth. 

They requested 4 projects and 15 of each. I could not do all the toys the person wanted, because I did not have the time to redesign so they can be put together by kids. They turned out all right. I don’t know how easy they were to assemble, but I got good feedback from them.

Sunday, December 5, 2021

New Guinea Pig Cage

My middle child got a pair of guinea pigs over the summer. One of the things that I wanted to do was elevate the cage we got so that we (I) didn’t have to bend down as much to pick them up and clean out the cage. I also wanted a place to store all the supplies they have instead of having them all over the floor. The base is made from scrap 2x6’s that were left by the previous owner. I purchased a sheet of particle with melamine on both sides. I also edge banded all the edges. I try not to use the convenience of Amazon for wood projects, but edge band was ½ when compared to the stores and twice as much. I cannot tell you about performance, because it is the first time I used iron on edge band. It worked well and cleaned up nice. The new cage is slightly larger than the old one. It seems to work well. We shall see how it holds up.

Tuesday, December 1, 2020

Sometimes I just want to stop

Fair warning this is a little bit venting.

I have been on Etsy for over 5 years now.  I consider it passive income because most of the items I sell on the platform are plans.   For the most part it has been a good experience.  There are times where I wonder if it is even worth it.  My store has been gaining more popularity in the past couple of years.  In part from social media and a couple of magazine articles I have written.  I have also seen an increase in sales where the person thought they were buying a product when it is only the plan.  I have also seen an increase in people wondering why my Etsy price is cheaper than the price I quote them to make the toy.  

When people ask about prices it is usually pretty easy to explain.  I will try and go out of my way to explain and offer suggestions.  I had a non profit that wanted me to make toys for them to sell.  They did not understand why the plan was $3 and I was quoting them $15 for each toy.  I wasn't going to be able to take the business because they were out of the country, but I wanted to help.  I ended up sending them the plans and told them to find a local wood worker to make them at the sizes they wanted.  Usually the price concerns are easy to resolve.

I have been having more people order plans and expecting the product.  I do have a no refund policy on plans because they are immediately downloaded.  This is typical in plan sales.  Usually when a plan is ordered in mistake the person will notify me of their mistake.  I handle these case by case. Be kind to me and I will reciprocate.  It is the emails saying something like, "When is this going to ship.  I have been waiting for two months," that bother me.  This year I have decided to take an unapologetic approach to these mistaken plan sales.  This is my typical reply:

Thank you for purchasing ______ plan.  You should have received an email with a link to download the plan.  Sometimes this is sent to spam.  I have attached the plan you purchased.  Thank you again for your purchase.

Most of the time I don't get a response.  When I do it makes me question if I want to continue in the retail environment. The customer feels it is my fault and I am not clear that this is just a plan.  The plan that has been the most problematic has been the cradle.  I have reviewed the description and title and could not find a better way to say that this is a plan.  I don't want to capitalize "PLAN ONLY".  It looks like I am shouting and it is tacky. Here is my little vent:

If you are buying on-line it is your responsibility to read the descriptions and understand what you are buying.  My shop is called All Natural Toy Plans (italics added).  The title says "Wood Toy Plan" then the item.  The summary in all my plans say "plans can be printed on 8.5 x 11" paper."  The last sentence reads: purchase is for the plan only.  I think I say it enough.  But just in case, I have added "*plan only*" at the beginning of each description.  I think this looks tacky.  Seriously, if you purchase one of my plans thinking it is a product, own the mistake an move on.  It is not my fault you made the purchase so stop blaming me that you didn't read the description.  I have no fine print. I have no disclaimers.  I definitely am not trying to deceive any one. I have over 400 sales and only about 2% order plans by mistake. Only two people think that I have actually deceived them.

My rant continues with the cradle since this seems to be the most mistaken as a product.  The plan is $10.  Something must go off in your head that this deal is too good to be true.  This plan is for a 21" cradle with custom fretwork on the side.  There is no shipping because it is a download.  My small toys cost $6-$8 to ship.  Seriously, if the deal looks too good, make sure you understand what you are buying.  I sell these cradles for $100 each at craft fairs.

I know that Etsy is not the best place to sell plans, but it is a platform that I use.  Others also use it because there is a total section for digital downloads and plans.  It has worked well for me.  I know that I am not the only one that has this issue.  I have read one star reviews on other plan stores, they are all because they expected an object and got a digital download.  

Rant over.

I am not shutting down my shop anytime soon.  It has been too much fun meeting new people.  Others sharing what they have made from my plans.  There has been some great things come from this experience.  

This year has actually been a good year for me on Etsy.  I contribute a lot of the success to being published and covid.  It is nothing to quit my job over, but it offset the costs of a planer, and lumber this year.

Workshop Classes

This is probably the best location to put consistent information about the workshop classes that I am currently doing.  Information will probably changes and adapt as covid regulations increase or decrease.  

I am holding workshop woodworking classes in my garage about twice a month; at least that is the plan starting in January.  I will be posting links on Facebook and NextDoor.  I am working on a google sheet for sign ups so that people can sign up for the project and date.  I have space for two people at a time for the smaller projects and only one for the larger projects.  All tools and supplies will be provided.  Currently everyone will need to come with a face mask or shield.  Shields are preferred because they do not fog up the safety glasses.  Classes will range from 1-3 hours in length.  These projects are on the simpler side to teach basics of nailing, drilling, cutting, sanding, and assembly.  It will not go into fine woodworking joinery and furniture.

Here are a list of potential projects.  Not all the designs have been vetted out so I don't have pictures of all of them.

  • Construction trucks - 1-3rd grades
  • Napkin holder - 1-3rd grades
  • Holiday luminary - 4th grade and above
  • Christmas Ornament - 4th grade and above
  • Cell phone holder - 4th grade and above
  • Bird House - 2-6th grade
  • Cradle - 9th grade and above
  • Scroll saw basics - 4th grade and above (prerequisite for many of the other classes)
  • Catapult - 4th grade and above
  • Name Plaque 1-3rd grade
  • Puzzles - 4th grade and above
  • Car launcher - 3-4th grade
To sign up for the workshops please look for the posts on social media sites and respond via email.  This is a first come first serve basis.  I will have some priority for new kids for the younger classes.

Wednesday, August 12, 2020

Bedroom Furniture: Bookselves

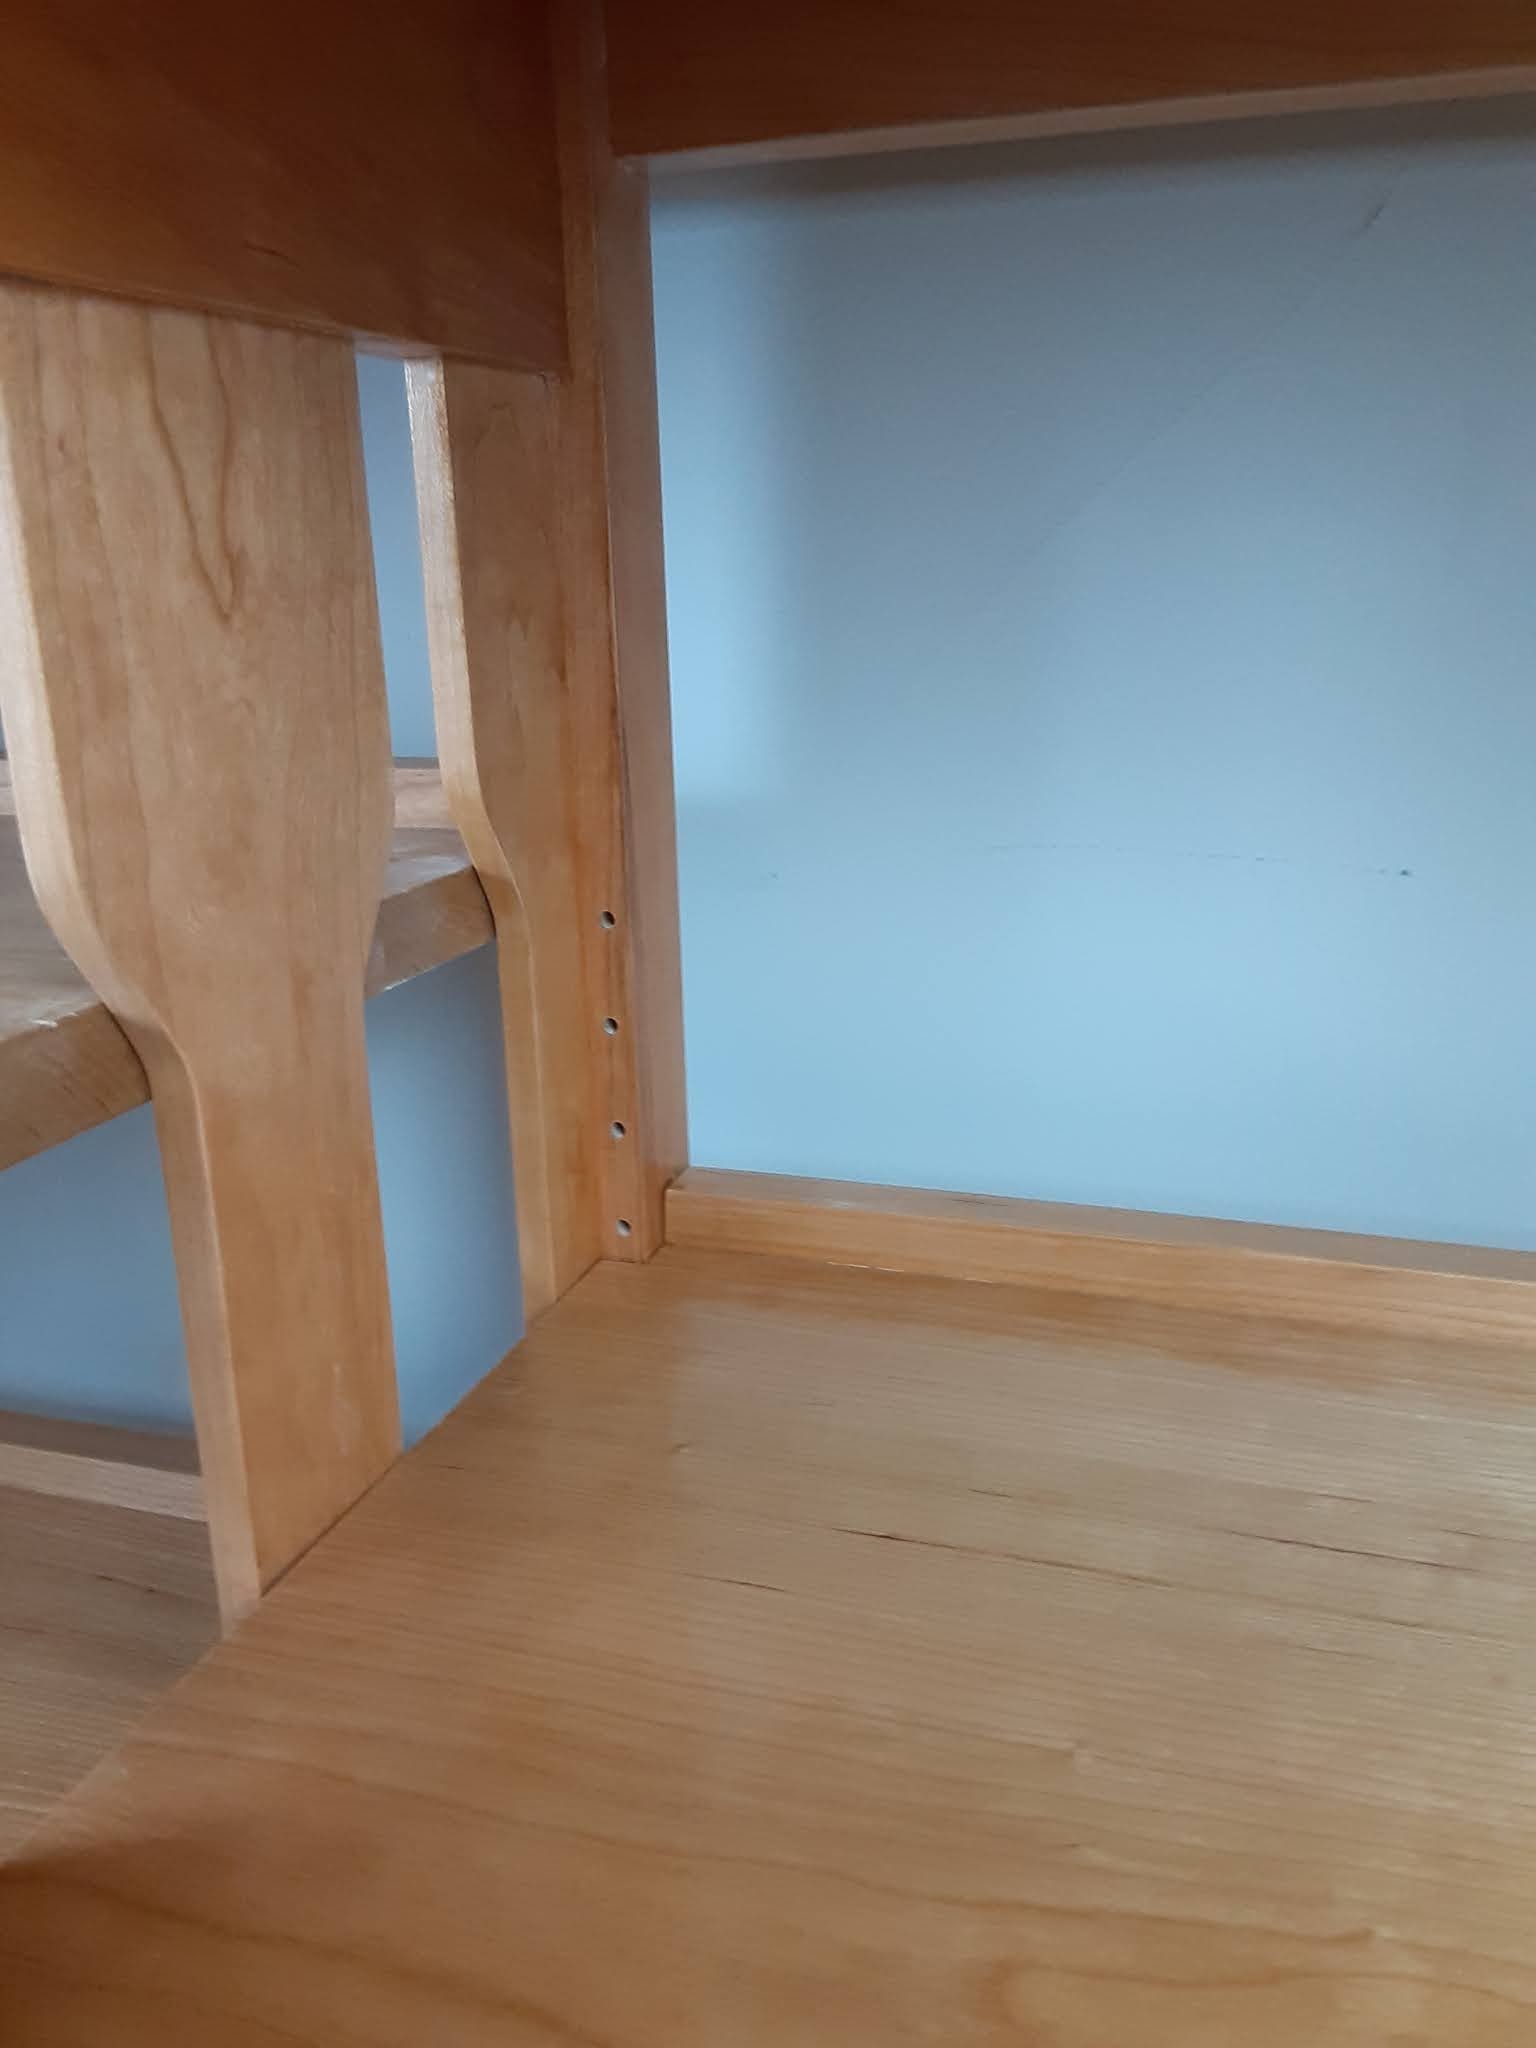
I recently completed the bookshelf for our room.  It is in the same design as the other pieces of furniture.  The bookshelf has open sides with slats and two sections.  One side has one adjustable shelf and the other side has two adjustable shelves.  I did not do a complete design of this, only sketches like the other pieces.  It was designed at 15" seep to handle some of our photo albums. Looking back, I probably could have reduced the depth to 12" and put the photo albums elsewhere.  It is deep but it does work.

The construction of the unit is very similar to the night stands with thicker legs and top.  I purchases 8/4 (1 3/4") thick lumber instead of 6/4 (1 1/4").  That was not planned but it looks good because it is a larger unit.  I used the slats to hide the shelf hardware.  the concept work well.  I used a template to make sure the hole spacing was consistent on each of the legs.  I used a router this time to cut the grooves in the rails that hold the slats in place.  I was hoping this would be more consistent than the dado stack on the table saw.  It was for all but one of the rails.  I am not sure what happened with the one piece.  It all worked out in the end since I cut the slats thick.  I did find out that I do need a better slot cutter than the one that came in the multi pack. The one I have dulled after half way through the parts and started to chip out on the edges.  All joints are mortise and tenon and I would hope that I would have become a little better.  I don't think I have improved much.

The cabinet is totally over designed.  It is all solid wood, even the shelves and bottom panel.  The shelves are 7/8" thick.  I now buy rough lumber, so I just plane to get the defects out and that is the final thickness.  I did have a little issue with the glue up this time.  I glued up the right side panel and left side of the center piece.  with hand cut joints each one fits in one spot.  I had to clean out a lot of epoxy.  The good part was my loose joints were no longer loose.

I am happy with the project and how well it goes with the rest of the set.  I think I will be doing a printer stand next.  I need to test a look before I put design it into the headboard


Tuesday, June 9, 2020

Catapults


I think I cope with stress by designing and building weaponized toys.  The ping pong ball guns and now the catapult.  I can remember the stress I was under when I made the trebuchet and the rubber band Gatling gun. The intent of the catapult design was for science.  The design was to allow to figure out the best angle of trajectory, where the rubber band should be placed, and the length of arm.  
I probably oversized the catapult.  The length of the catapult is 24” and the plans need to be printed on 11x17 paper.  I don’t regret the size; it works well.  I might come back and make a desk top version.

The saw tooth design is so the dowels can be moved to change the angle of trajectory, where the rubber band is placed.  It also allows for the arm to easily be replaced.  Over the process of making it, I realized the location of the rubber band was not important but how many rubber bands. 

My kids assembled most of the catapults.  The oldest choose not to participate.  The younger two glued and screwed most of the pieces and cut the dowels to length.  They installed the hooks and placed the location of the dowel stops.  I actually think that I was able to teach the middle child some tricks. 

Here are the mechanical advantage lessons that I think I taught him.  If he remembers them that is a different story. 
  • Wedges to split glued parts that are not supposed to be glued.  We used a chisel to separate a clamping joint that got stuck together with squeeze out
  • Lever arms, we used a screwdriver to put in the multiple hooks required for the project
  • Blade pinch, he learned what happens as you pinch a blade when trying to cut material. 
  • What happens when… The catapult has several different options that can change trajectory and tension.  He was able to figure out that different angles caused the marshmallow to fly differently.  He was also excited when I added a second rubber band and told him I doubled his power. 

Overall, the project went well.  They are a little bigger than I thought they would be. They launch marshmallows and ping pong balls about 40 feet.  The kids had fun.

Wednesday, January 15, 2020

My Last Project in California


Phone Stands

 My last project in the current shop was a couple of cell phone holders.  I have done one in the past but this time I cut out a butterfly on the top of it.  The other was an easel that proved to be more complicated that I had hoped.  The size of the easel made the angles very shallow and I did not want to feel like it was going to fall over.  The other thing that I did not realize was the dimensions of the stock.  I originally went with 5/8” thick stock but that looked too thick, but ½” was too narrow to hold the phone.  I actually needed to be creative to make the ledge look thinner than it actually was.  That is what angles are for. 
The tricky part was the drilling the holes.  I drilled one and then used tape and super glue to hold it all together to make sure all the holes lined up.  It actually worked really well.  This was a lot of compound angles.  For the most part I sanded to a line.  The project made me think a lot about the angles and order of operations.

Sunday, June 16, 2019

Build and Grow Planes

  The next set of toys in the build and grow series is the planes.  I had a lot of fun designing them.  As usual, they were a lot bigger in my mind than in real life.  They were a lot of fun to build even though they were on the smaller side.  I had to make some concessions with my design criteria.  I needed to introduce some nonstandard thicknesses.  The wings just did not look good on ¾” material so I reduced it down to 5/16” but ¼” will also work. 
There are four different planes and I will go into each one and some of the difficulties and things that I liked about them.  They all had all there difficult parts and it was fun working through them.  There are a couple of things that I did different with this design.  First was that I printed the patterns on card stock so that I could trace the patterns on the wood.  The second is that I am batching several of them out in different woods.
The Helicopter
It seems like a pretty basic design until I realized the cuts on two faces and the holes that I needed to drill.  So I marked out the pattern and the holes on the body.  Cut all the lines from both directions leaving about ¼” between the two cuts so that I do not have to tape the part back on.  After the body was cut out, I finished the cuts on the sides.
The next challenge was the small parts.  I realize quickly that there were a lot of parts that I was not comfortable cutting on the table saw or chop saw. I used the band saw a lot on these parts. I am now looking into an 1/8” blade for the band saw.  The skids on the landing platform I changed after I cut them out.  They were originally going to be doweled.  They are no longer that way.  There really was no reason to do so because it is face grain to face grain bond.  I also have widened them a little from the original design.


The Jet
This is pretty much a scroll saw and sanding operation.  There are small pieces but I liked how well it came out.  It is definitely the easiest of the planes to make.


The Bi-Plane.
This was another project where it was helpful to have the band saw around.  The only thing that I needed to keep together was the wings. I drilled the top and bottom wings strut holes taped together since I was making 12 of them.  I marked the top and bottom of each.  That face was sanded after everything was assembled.


The Prop Plane
This one was modeled after the first plane that I did.  The wings have a 5 degree tilt on them.  I was pretty confident that this plane would not be a huge problem.  I did the same thing with the multiple cuts as I did on the helicopter body.  I then cut the taper on the bottom.  When it came to putting the groove for the wings in, I had a problem.  The part was much smaller than the original design.  I needed some way to cut this groove safely.  I used a miter gauge and a sacrificial extension.  Looking back, I should have put the five degree angle on the extension.  I had a problem keeping the bottom flat because it was small and liked to rotate.  This did not give me a consistent groove depth over the part.
I liked how they turned out.  I was different using harder woods of half of them.  This is why I was grateful for the band saw.  I could do them with the scroll saw, but it would have taken a lot longer.

Build and Grow Boats


I will have to admit, these are not as exciting of a build as the planes. They were fun to build and will be just as fun to play with.  I made 12 of each of these; half were out of poplar and half other woods.  I did have to bring in 1/2" thick lumber to make the proportions look correct.

Tug Boat
This is a smaller version of the original one that I have made in the past.  I incorporated the cutout of the deck to be the top of the cabin.  Hardest part was the small pieces which I use the band saw and the sander to safely cut.


The Rescue Boat
The hardest part of this boat was the cabin.  I wanted the front to be tapered and that was easy.  The problem was cutting both the top and bottom so they had the same radius but one was flat and tapered on the top.  I think they came out and looking good.  I did screw up the color mixes on the hard woods but it turned out.


The Ferry
This is the boat where all the learning happened. The design was not all that difficult.  The waterwheel was the part that caused some thought on assembly and materials. I learned that all dowels are not the same.  I purchased a dowel that did not have all straight grain.  part of it had the grain at about a 60 degree angle.  Normally this would not create a problem, but the dowel is not supported through its length.  When putting the other side of the waterwheel on it would break the dowel.  The other problem with the dowels was the inconsistent diameter.  The thicker ones would split the waterwheel.  After all this I like the way they turned out.


Monday, June 25, 2018

The Next Twelve Months


This year has had a couple of twists to it already and I am finding there are things that I need and want to do in the next 12 months.  I am writing this because, in part, I need to get it out on paper.  My company was purchased at the beginning of the year.  I am currently in a role that I am trying to create.  I have several people supporting and pushing this position, however I am not confident the new leadership wants to create the role.  I have several other plans that I am also pursuing.  One of which is relocating to the new corporate headquarters in Virginia.  That may happen in a year or I may move to the CAPEX engineer that I am trying to create or move to a project engineer in the Anaheim or be an engineer at another facility which would require me moving.
What does this all mean?  First I don’t want to move a bunch of supplies.  I am trying to reduce the amount of wheels and other parts that I use on toys.  Most of the projects I am doing now, have that goal in mind.  I will need to make one more wheel purchase this year and then I plan to run out before doing a major stock up again.  I also have a lot of donated wood.  This wood is all going towards toys that are going to be donated.  I also have several projects that are half way complete, I will need to put a fire under those to complete (Probably the wrong saying to use for wood projects). I do like that I do not keep a lot of inventory at the end of each year.  Most of my toys are donated.
There is another thing that I would like to do in the next twelve months and that is teaching a basic wood working class.  I have a lot of the elements planned out and the projects drawn up.  The concern is the time.  It is a major time commitment. It is a 14 week course and two hours each week.  It goes through the basics of hand tools and design.  It will not teach the major power tools.  I am excited to try, I need to commit to the time.  I am thinking about doing this Friday nights starting with the beginning of the school year.  If you are interested, you can view the syllabus here.  Please email me if you are interested.  I am asking for a $30 donation for supplies. If you are just interested in learning please let me know.
There is change in my future and I am ready to roll with what I know.  It is the unknown that worries me a little.


Monday, March 12, 2018

Arrow of Light


I was asked a little while ago to produce some Arrow of Light plaques for a local cub pack.  I thought about many the different ways and styles I could use.  There was scrolling out the image.  I also thought about making a template and routing it out.  Then my laziness kicked in and decided to go the easer way, CNC. 
I have access to a CNC router and since I was making 4 of them it would be a fast way to batch them out.  Programing proved to be a little more challenging than I thought.  By programing I mean drawing it up.  For some reason I could not get the parts to constrain correctly and it kept failing to constrain.  Once the drawing was done to my satisfaction the importing into the machine was relatively easy.  One test sample and then four more were completed in about 20 minutes. 

The painting is something that I have done before.  It is paint slightly over the lines and then sand it off.  There is a coat of shellac and that is it.  Sometimes it is nice to have a quick project even if the drawing part was a pain.  In the end I learned more about the drawing program and how to import a drawing into the machine.  Usually I just program the machine.

Thursday, August 24, 2017

High Chair


This year I have been trying to improve my skills in joinery and bring in hand tools into my skill set.  With this goal I have purchased some new equipment.  The first was a sharpening system so I can have sharp tools.  After this project I have upgraded my set of chisels to better steel and longer blade for ease of sharpening.
The skill set on this project was hand cut mortises for mortise and tenon joints.  I usually do not use this type joinery because it means hand cut mortises (I am not going to buy a mortising machine) and I have not really been very good at them. I have only done them twice before and both were machine made.  The high chair had 16 mortises.  I attempted to make two.  Only one made it to the end.  Here are some of the things that I learned and took away from the experience:
I set myself the best I could for success.  I watched videos and read information.  I created jigs to make sure my measurements were all the same.  This was a simple block with a groove so I could mark the location to all the mortises and they would all be the same.  All the mortises were the same and only four were in a different location.  Just as I started pounding nails in a 2x4 with my name on it I had 32 mortises that were all the same to practice.
I had sharp tools.  I have previously used chisels and have a set.  They were only sharpened recently for this project.  This is why I had purchased a sharpening system.
I learned that mortises could be cut crooked.  That was the fate of the second one.  I could not square to save my life.  So it turned into blocks.
I understand now what a marking knife is for.  It creates a small cut in the wood that allows the blade of the chisel to sit in.  I am sure it has other purposes but this is the one that I realized.
I learned that a wobbly table is not the best to chop out mortises.  I would love a work bench but I need something that can get out of the way of a car.
This was a challenging project and took a longer than normal time to make.  The plan will not be up for sale at this time.  I will be making one with doweled construction to put on my plans page.  I am glad I did it and a little more confident in making and cut mortises.  I might use them a little more often now.

Friday, May 19, 2017

Car Launcher


Triton tools is putting on a design competition (ends May 31).   I put in my redesigned cradle.  We will see what happens there.  I looked over the rules and there was no age limit.  It surprised me because the awards are a table saw and router.  The interesting thing about the competition was the groupings.  Top prize was the master level, then the same prizes for beginner, intermediate and advanced.  The group that surprised me was the kid’s project.  My cradle was entered in the intermediate group.  I talked to my oldest about it and we decided that we would make a car launcher.  Over the last few weeks we designed and built the car launcher.  He did most of the work and I did the write up. 
Once he approved the plans we started cutting.  It took a lot longer than I thought it would.  I will say that I was a successful parent on the project.  He had to mark all the holes and lengths.  He also had to cut through half the board before I helped.  I set up the drill press but he drilled the holes.  He assembled it.  We had to make a few adjustments to the plan along the way, and it works.
The project was basic at the core, I still learned from it while enjoying time with my son.  All wood could be purchased from a big box store.  The axles need to be purchased at an arts and craft store.  I did nothing to prep the wood either.  I have been holding off on using hand tools because I do not know how to set them up.  I fear if I set them up wrong or they are not sharp, the bad experience will deter me from using them again.  I will say, the box store saw and miter box is not very good.  I learned that even simple designs need to be adjusted.  I thought a bottom was needed and it was not.  I tried put a switch so that when pushed it would fire the launcher.  That did not work.  My oldest like the project and enjoyed building it.
I hope that this is the start of some “build it yourself” projects that I hope to develop.  That is next year.

Friday, March 24, 2017

Doll Cradle


I know that I only have boys in the family.  I wanted to make some different things than trucks and construction equipment.  This year I am challenging myself to do other things.  The first is the cradles.  I made four of them because I could.  Each of them was different for different looks.  I would say that I like them all but I do have my favorite.  So in order from my least favorite to my favorite.

The Butterfly Sides

The image came from the web and I thought it would look better than the cutouts on the other design.  The butterflies were just too small.  I like the detail it adds but it does not create enough negative space to make it look good. 

The Girl and Boy Fairy

This is only ahead of the butterflies because of the design.  I like the curve on the side over the straight sides.  The cutout does not add to the design.  It looks plain, more like a decal.  It looked good when it was printed out but it did not translate well on wood.  I think I envisioned something not like a silhouette.  This is the first attempt at adding color to some of my projects.

The Slots and the Rose

I liked the negative space the slots added and the rose just adds to the back of the cradle.  It was how I thought the cradle would turn out.  I did make an adjustment to the side panels of this cradle.  I grooved them and attached them to the edges of the ends.  This is a stronger joint and I think it looks a little cleaner.

The Hibiscus Flower

Hands down, this is my favorite.  The flower is large and adds to the cradle.  The painting behind it is not great but not bad for my first time blending colors. Over all it is clean and looks good.  The next time I build it I will use the joinery of the slotted cradle. 
This was one of the challenges that I wanted this year.  I wanted to add a little of clean color to my projects.  This is probably the easiest but it is a step.  The hibiscus flower got a lot of attention at my scrollsaw meeting the other day.  The glue line is not very visible and the detail was too fine for a router.  I had to explain a couple of times how I did it.  The sides are one complete board.  I resaw it in half and plane out the marks.  This is why the sides are only ½” thick.  I do make sure I have identified the top edge and front and back of the board.  When it is glued up again the glue line blends in with the grain.  I take the front half and cut out the shape, in this case is was the hibiscus flower.  On the other half I paint the color(s) that I want in the background.  I made sure to be careful not to paint where the edge was.  The paint will show thru the glue line.  Then glue the two pieces together.  Make sure to line up the tops and insides.  I used a make shift press to make sure I had even pressure. 
A little note about gluing these pieces. I wanted to make sure the pieces of the cut out did not break off.  So I put a little bit of glue on parts keeping away from the edges to avoid squeeze out.  It still happened and it was a pain to clean up.  I figured out later that should have used wood glue with a long open time on the large sections and used super glue on the smaller more delicate sections.  The super glue can be more precisely put on and has less squeeze out.  I also highly recommend the gel formula of super glue.
The project itself is made out of beech wood.  It tore up by scroll saw blades but it cut well.  The bottom panel is solid wood.  I would usually use ply but I don’t that beech ply.  When I started the project, I thought this was going to be an easy design.  I forgot some important factors.  The first was end grain is not a good bonding surface.  So I changed the side panel to the one with the slots.  It was too late for the others to change.  Then the rockers to end panels have the same problem.  I doweled them, but if I rotated the end panels 90 degrees I would not have to add the dowels.  The paint was the one thing that I was dreading and kept putting off.  In the end, I was worrying about nothing, I just needed to start.
The slotted cradle is going to be donated to charity.  The reason is because it is the design that I am submitting to instructables.com.  I donate one of everything I design to a local toy drive over Christmas.  The plans are free on instructables.com.  I have added it to a contest on instructables so please vote for me.  The remaining cradles are for sale.  These are prototype cradles so I am selling these for $100 apiece plus shipping.  It is a first come first serve.  If you want me to make another one you have the option of choosing the style and the cutout image (providing it can be done).  They will be sold for $175 shipping included.  If you are interested please email me.  Please allow a couple of months to make.  I make to order.