


This was a crazy year for me. I had the nativity ornament already picked out. The wood choice for the family ornament is poplar. There is not much special about poplar. It is considered a hard wood even though it is pretty soft. This wood is always in stock in my shop because it is what I use to make the toys that I designed for the first time. It is also what I make most of my toys I donate. It paints very well and is inexpensive. Poplar will always have a place in my shop.

That is this year's ornament.


I had a fair amount of off cuts of several thicknesses of cherry from the furniture that I have been building. I wondered for a little bit what to do with it. My small series was made mostly of 3/4" material so it made since to just double it, sort of.
The problem was that the lumber I had was not all the same thickness and too small to run through a planer. I took some liberties on thicknesses and dimensions to make it work. I only had enough off cuts to make four different models. I probably like the jeep and the plane the best. I would like to see what the dump truck would be doubled. Maybe after a few more projects.
Fun project to double the size. I needed to enlarge a couple of the templates. I took a couple of liberties with the dowel placements and widths. It was also surprised how big they were compared to the originals. I will probably do this again when I get different thicknesses of lumber.


My middle child needed a dresser for his room. He had drawers that went under his bed but we lofted the bed so the drawers just moved around the room when he needed space. I put together a design for a painted chest of drawers that he could help in the color and painting.
 I figured I would use cheaper materials, but I don't know how much cheaper they were. The side frames are poplar and the rest of the carcass is MDF. The drawers are the cheap import plywood that is a pain to work with. I used a stain blocking primer, because I knew there were places in the house that I would need to prime also. I purchased a quart of flat bright white interior paint and half a gallon of orange acrylic paint. For the top coat, I used water based polyacrylic.
Construction is pretty simple. The sides are a frame and panel where everything was pre-finished. The only thing that I would have done different would be to stencil the patterns on before assembling the panel. Th insert panel is MDF that has been primed and painted. The face frame is MDF and screwed into the sides. I had some left over poplar so those were made into the back rails. It has a full back panel and the top is 1/2" MDF. I should have used 3/4" but I did not want to buy a sheet for just one top. The top is held in place by construction adhesive. I would have liked a couple of mechanical fasteners.
 I did have my helper paint. It was good for him to be part of the project. He did do all the the stenciling. I did learn a couple of things with working with my son on this project. The first and most important is that I cannot do it for him. He rolled the primer on all the parts and put on the white paint. I did do some touch up work, but he did do a god job. I also learned that there is a time limit for how much he will do. Once the time is up, I can work on the parts of the project that he is not able to do. It is hard to hold back "suggestions" on how I would like to see it done. He needed to chose the stencils and placement. He is a very linear thinker that thinks outside the box. The stencils are all oriented in the same position, but the color scheme is all his. I would have liked it a little more symmetrical but he wanted nothing to do with it. he also did not like the scorpion and centipede stencils.
I think the project works well for my son. He was extremely proud of what he did and how it turned out. I would have liked it to be a little cleaner in the paint area but a lot of that was my fault. He now has a place to put away his clothes, now we will see if his room stays cleaner longer.
The inspiration for the project was first to have a place for my son's clothes. After looking at the costs of dressers I thought I could build a better one for slightly over the cost of buying one. I was looking at around the $220 range. Here is the cost break down and total
| hardware | $49.98 |
| lumber | $77.62 |
| tools | $40.17 |
| paint | $48.36 |
| Grand total | $216.13 |

I recently completed the bookshelf for our room. It is in the same design as the other pieces of furniture. The bookshelf has open sides with slats and two sections. One side has one adjustable shelf and the other side has two adjustable shelves. I did not do a complete design of this, only sketches like the other pieces. It was designed at 15" seep to handle some of our photo albums. Looking back, I probably could have reduced the depth to 12" and put the photo albums elsewhere. It is deep but it does work.
 The construction of the unit is very similar to the night stands with thicker legs and top. I purchases 8/4 (1 3/4") thick lumber instead of 6/4 (1 1/4"). That was not planned but it looks good because it is a larger unit. I used the slats to hide the shelf hardware. the concept work well. I used a template to make sure the hole spacing was consistent on each of the legs. I used a router this time to cut the grooves in the rails that hold the slats in place. I was hoping this would be more consistent than the dado stack on the table saw. It was for all but one of the rails. I am not sure what happened with the one piece. It all worked out in the end since I cut the slats thick. I did find out that I do need a better slot cutter than the one that came in the multi pack. The one I have dulled after half way through the parts and started to chip out on the edges. All joints are mortise and tenon and I would hope that I would have become a little better. I don't think I have improved much.
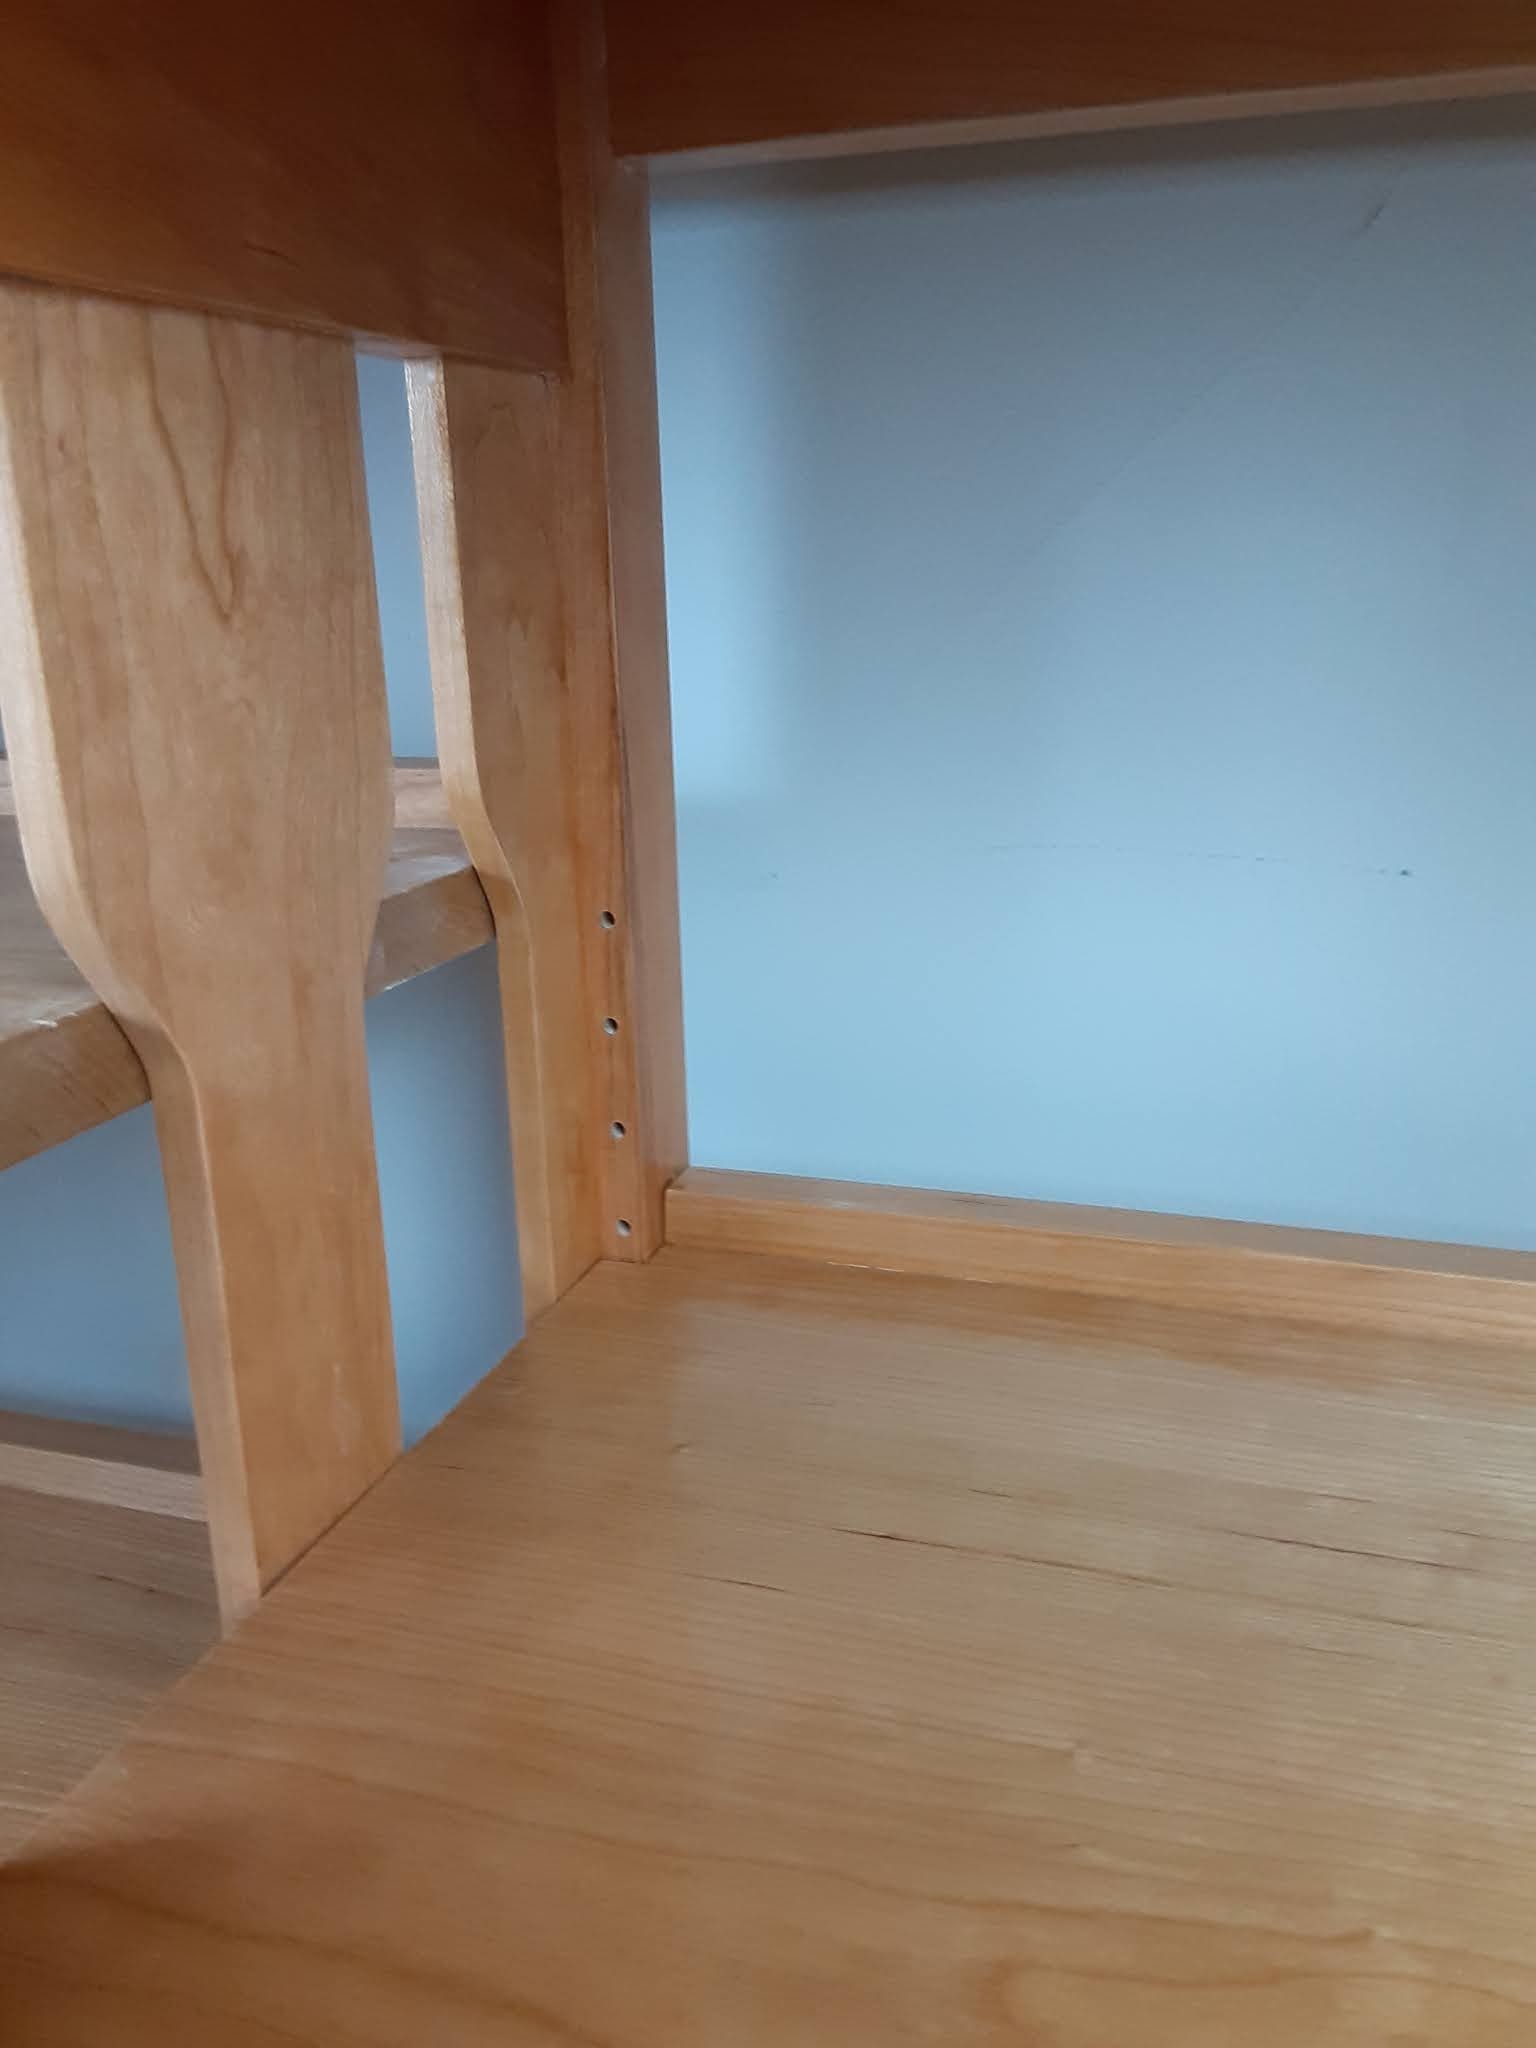 The cabinet is totally over designed. It is all solid wood, even the shelves and bottom panel. The shelves are 7/8" thick. I now buy rough lumber, so I just plane to get the defects out and that is the final thickness. I did have a little issue with the glue up this time. I glued up the right side panel and left side of the center piece. with hand cut joints each one fits in one spot. I had to clean out a lot of epoxy. The good part was my loose joints were no longer loose.
I am happy with the project and how well it goes with the rest of the set. I think I will be doing a printer stand next. I need to test a look before I put design it into the headboard

 The design is pretty simple.
I wanted a simple, straight forward desk that would not hold a lot of
stuff. It was supposed to hold a printer,
but I think that changed. It can but it
makes it a very tight fit. It was going
to have a single drawer to hold pencils and a note pad. We found out after that will also hold a
wireless keyboard.
 The main difficulty was the size of the top. There is an undercut bevel that would not fit
on table saw. I had to cut it with a
circular saw. It did take a lot of
cleanup afterwards. The jointing of the
three pieces also proved to be a challenge that I was not ready for. I did it by hand first because my planer
could not edge plane the pieces. I ended up cupping the boards. I ended up running the smaller piece through
the planer to edge joint the piece. That
gave me a reference surface to match the other two pieces. It was a pain, but the glue joints came out
great.


 My kids assembled most of the catapults. The oldest choose not to participate. The younger two glued and screwed most of the
pieces and cut the dowels to length.
They installed the hooks and placed the location of the dowel
stops. I actually think that I was able
to teach the middle child some tricks.

